
2018 UPDATE – This article is almost 10 years old. I’m currently working on a vastly more detailed and comprehensive VFX Supervision Online learning course. I’d love to share it with you when I launch in a few months. Join my mailing list and I’ll drop you a line when it’s ready. Don’t worry there’ll be no Spam.
This tutorial covers onset VFX supervision, I’ll cover planning in the form of previs, motion control data and the tech recce. Along with what equipment to bring, a bluffers guide to onset etiquette and data acquisition for HDRI, tracking and matchmove along with Image based modelling / CG reconstruction.
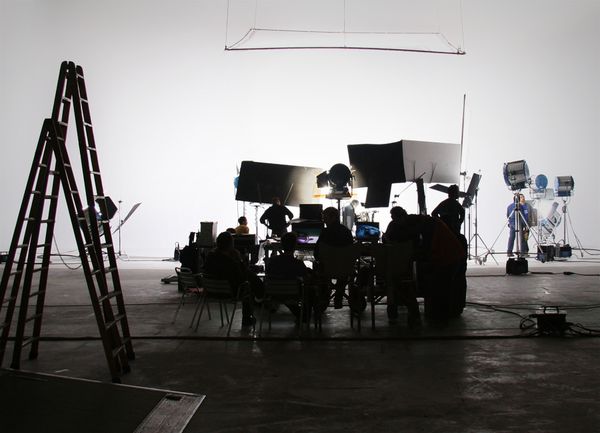
Many people trained in 3D and Compositing have never stepped foot onto a tv or film set and it can be quite unnerving. Whilst there’s nothing like experience I hope this guide can help smooth out some of the jargon and complexities.
Shoots tend to be quite daunting ventures that quickly acquire a mind and momentum of their own. Working on an animation project often allows for lots of people to spend time getting to know and understand a project. However often on a shoot you’ll be working with lots of technicians who aren’t familiar with your project.
It can seem as though you’re being swept along as there’s so many people each with their own departments and concerns. The more planning and forethought you put in the happier you’ll feel, as often your decisions will need to be made very quickly and confidently, there’s rarely time to stop and breathe on the day.
One of the best ways to learn what everyone is up to is to take up photography. Being able to use a SLR camera with manual settings will take you through a minature version of many of the concepts and processes involved in Live Action.
Before worrying about how you’re going to shoot a particular shot or sequence, it’s a good idea to put together an animatic. Your animatic should be unconstrained from the practicality of a shoot, it should purely be an exercise in creativity and storytelling. This will allow you to work through various ideas, problems and solutions without worrying about time and cost. Shooting for VFX can be a costly and time consuming exercise so while everyone should be aiming to leave things as free and open as possible for the director, it’s best to have most of your creative problem solving worked out before planning the shoot.
Once the sequence has been blocked out and approved by clients and directors it’s time to start figuring out how your sequences will be created. From your animatic you’ll be able to figure out which your VFX shots are. There’ll be a million different ways you can approach a shot so I’ll leave that to you, however your solution will often be informed by what is practically possible to shoot.
A good place to start is by listing out the possible issues, which will typically be along the lines of :
Armed with an animatic and a list of possible issues you can start thinking about how your shot / sequence could be assembled and therefore how you’d like elements to be filmed. A good way to work through this is to create a Previsualisation. This is similar to an animatic but should be constrained by your shoot limitations.
An ideal previs would have a virtual live action camera, dolly and track and even lights. This will serve as a guide to how your shoot will function, so it’s important to work to real world scale. From this you’ll be able to provide plans and movies to the various live action departments showing them much much the set or chroma screen will be featured, where lights should be placed etc etc.
Your shoot could take a single day, a couple of days or a lot more depending on the scale and type of production. Commercial shoots can involve a number of meetings and set up days leading up to the event, and as I’m basing this guide around a commercial shoot rather than film production, I’ll detail them briefly :
Preproduction Meeting, this is a meeting between the client, producer and director where they’ll run confirm casting, set designs, animatics and any other creative decisions. This is to prevent anything coming as a surprise to the client on set, ideally meaning they can leave the crew to get on with their work.
On a location shoot there’ll often be a tech recce, which allows all heads of departments to see the location and plan how the shoot will function. There’s rarely any camera equipment so it’s hard to perform any tests, so it can be a good idea to take a small DV camera to shoot some test shots and angles.
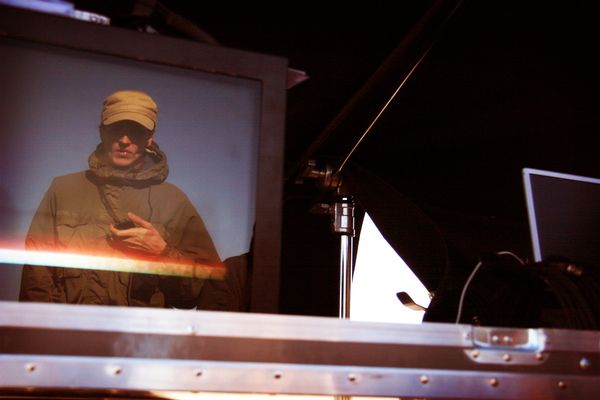
If the shoot is taking place in a studio there’ll often be a day before hand to set up set, lights and camera equipment and run through everything before the actual day. This can be a great day to test as many of your plans as possible. You should ensure you meet the 1st AD and DP to set a shooting order and explain any special requirements. It’s also a good chance to meet other crew members such as the video assist and playback guy to check the animatic movie files work ok on their system.
Get to the studio or location as early as you can, ask the 1st AD for a spot you can setup, ideally as close to the camera department as possible. You should then find and introduce yourself to the Camera assistant as they may be able to help you logging camera data such as height, lens data and other useful information.
Once shooting begins you should ensure you take measurements of everything. Even if you imagine you won’t need them take reference photographs of each setup and measure everything. Make sure you collect camera data after each setup and before the camera is moved, crews move fast and once it’s time to move onto the next shot you’ll have to move quick to get your data logged.
Overall the best advice I can give on shoot day is to be as prepared, decisive and helpful as possible. Often there’ll be other creative or practical issues that mean your concerns will be overridden, you should be prepared for this and choose your fights wisely, don’t kick up a fuss at every turn. It can be a good idea to spend a little time the night before imagining the implications of the most obvious changes or compromises to your plan, that way you’re ready when someone asks if you can ‘fix this in post’.
Having a little bit of knowledge of how cameras work can go a long way on a shoot. As mentioned before an understanding of stills photography really helps. I’m by no means an expert but this is a small guide to typical cameras, issues and solutions.
Even before the shoot has begun there’ll be some decisions to make about shooting formats. These days camera choices tend to be split into three areas :
Film – 35, 16mm – The traditional and arguably still the best format to shoot in. Be aware that 16mm is noticeably lower quality than 35mm, it’s also far less stable going through the camera and can be a nightmare for VFX work. Film itself is costly and requires developing and scanning before it can be used.
Videotape – DVCAM, HDCAM, HDCAMsr etc – HD cameras have become the traditional low cost alternative to film. However HD does tend to look cheaper and so it’s use should always be carefully considered. There are other issues regarding compression and chroma keying that should be addressed. However HD often requires less crew, lights and no costly telecine.
Data – Red Camera, Genesis, Panasonic HVX – These cameras shoot to a hard drive, usually to their own proprietary formats. It’s important to plan how you’re going to deal with the output from these cameras as they can require lots of hard disk space and software. However the ability to have full resolution on set playback without the compromises of HD makes them very seductive.
These formats are only just beginning to stabilse, and new cameras are coming along all the time, for example everyone is very excited about the Red camera these days with it’s ability to output 4K frames (meaning 4000 pixels wide).
Once you’re onset and shooting you should be involved in any decisions regarding the camera. Here are some typical issues to consider and look out for :
When shooting commercials a 35mm frame of film usually has a 4:3 aspect. Generally you’ll shoot ‘full gate’ meaning you capture that full 4:3 frame and then if required crop a 16:9 image from that. While shooting the playback operator will often attach black tape over the monitor to simulate a 16:9 frame, but you are actually recording the whole image. This 16:9 crop can be positioned in telecine (a process known as racking up or down).
Camera’s on dollies and tracks will bounce and move around. If required footage can often be stablised in post but keep your eye for particularly violent bumps that will be harder to remove.
motion blur is caused by a frame of film being exposed whilst an object moves quickly. Therefore if you’re trying to reduce motion blur to ease chroma keying or tracking you have two options. Firstly you could increase the frame rate to give more frames or samples per second, or secondly you could decrease the angle of the shutter (in motion picture cameras this is measured in degrees as the shutter rotates around on a drum).
Often there’ll be a requirement to do a zoom in post rather than on set, be aware that there’s a limitation of how much a frame of film can be enlarged before it begins to look soft or the grain gets too big. A post zoom can also require complex telecine where the frame is scanned in sections and then stitched back together at the composite stage. Any blow up over 5-10% should be considered carefully.
With all this information from the shooting, a tracking artist is able to work much more precisely and quickly.
(These two sections are based on notes written by the very talented Amelie Guyot).
Motion Control can be an extremely useful tool, however it’s expensive and very slow to set up and work with. If you are going to attend a shoot with Motion Control, contact the vendor well before the shoot to get a virtual rig for your previs, this should allow you to plan your shot within the limits of their rig. They should also be able to send you an example of the data output from the rig so you can have a clear understanding of how to use this data back in the studio. Doing this ahead of time could seriously save your skin.
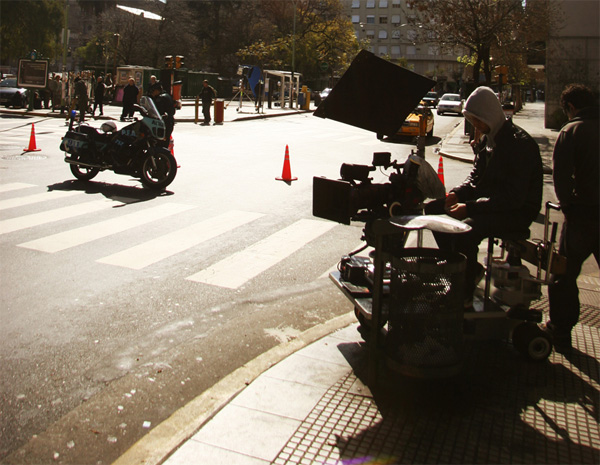
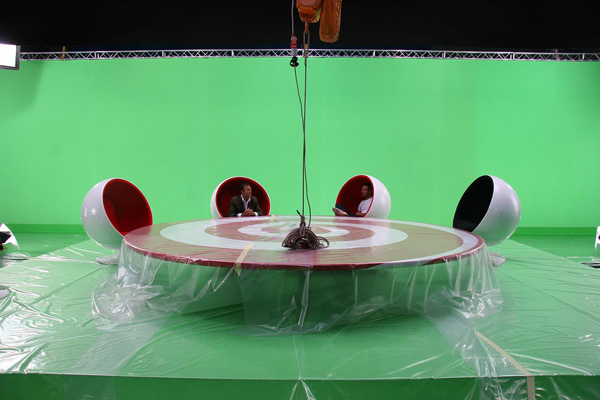
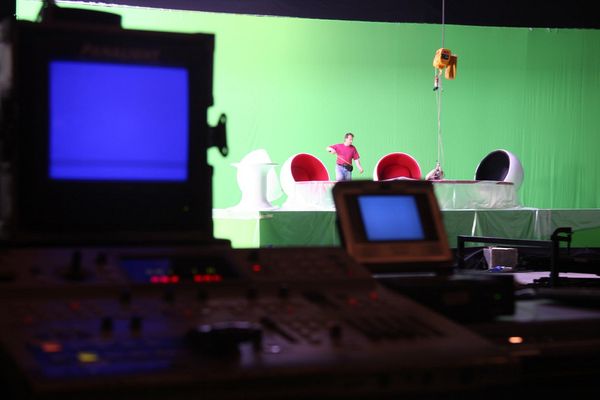
Milo working onset shooting for a Toyota Scion commercial.
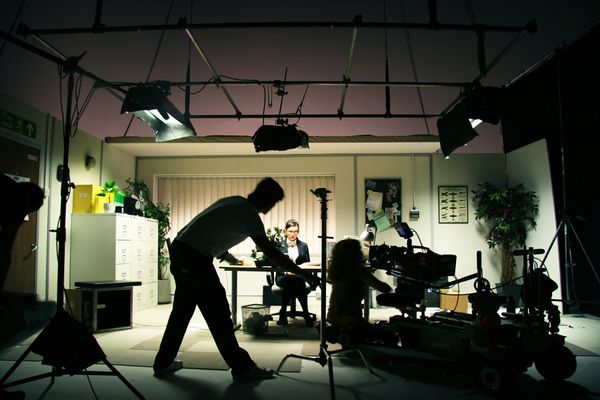
You should always sketch up a lighting diagram from each setup, you’ll be amazed how much you forget by the time you’re back at your computer.

Quite often you’ll want to recreate your real world lighting back at the studio. The established method for this is to sample your lighting using a chrome sphere and capturing images at various exposures allowing you to create a HDRI file. I’ll post a tutorial on this process very soon.
Life onset is a minefield of arcane job titles, jargon, and established working practices. Most crew members will have worked their way through long apprenticeships, therefore everything will be second nature to most people on set and they’ll tend to assume you understand how everything fits together. In my experience I’ve found you’ll get more respect by asking questions than bluffing it and embarrassing yourself.
Here’s a brief breakdown of job titles and responsibilities :


 >
>